Getting Started with OpenBCI
This page is not yet complete.
This tutorial will take you through the steps of getting you OpenBCI board up and streaming EEG signals!
Installing The Software
First, you will have to download the latest version of the OpenBCI GUI (graphical user interface) Make sure to download the correct version for your machine! (windows, mac, or linux).
One you have downloaded it, unzip it and move the folder somewhere you will remember! > The GUI doesn’t ‘install’ so you will have to open the folder to start the program
Once you open the application OpenBCI_GUI, you should see something like this: 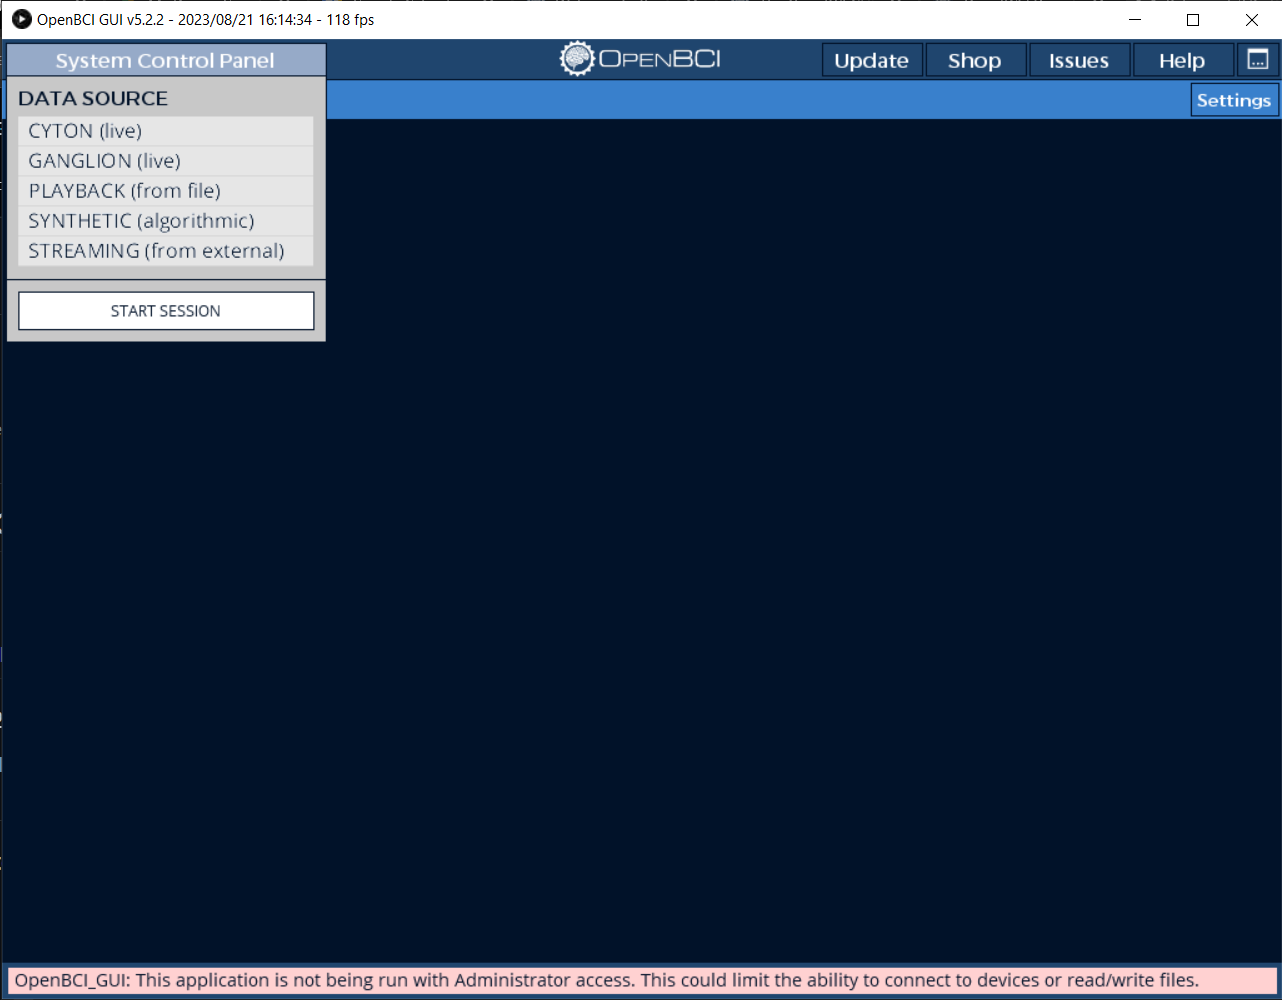
If you see the red bar at the bottom that reads ‘This Application is Not being run with Admin Access…’, close it and restart it as an administrator (right click > Run As Administrator > Yes)
If you run into trouble or errors not mentioned here, check out the official GUI documentation (or ask one of the SURGE folks!)
Connecting To Your Board
If at any point something doesn’t work or make sense - check out the official documentation on getting your cyton board setup!
Make sure you have your Cyton Board, Dongle, and Battery Pack with 4 AA batteries. 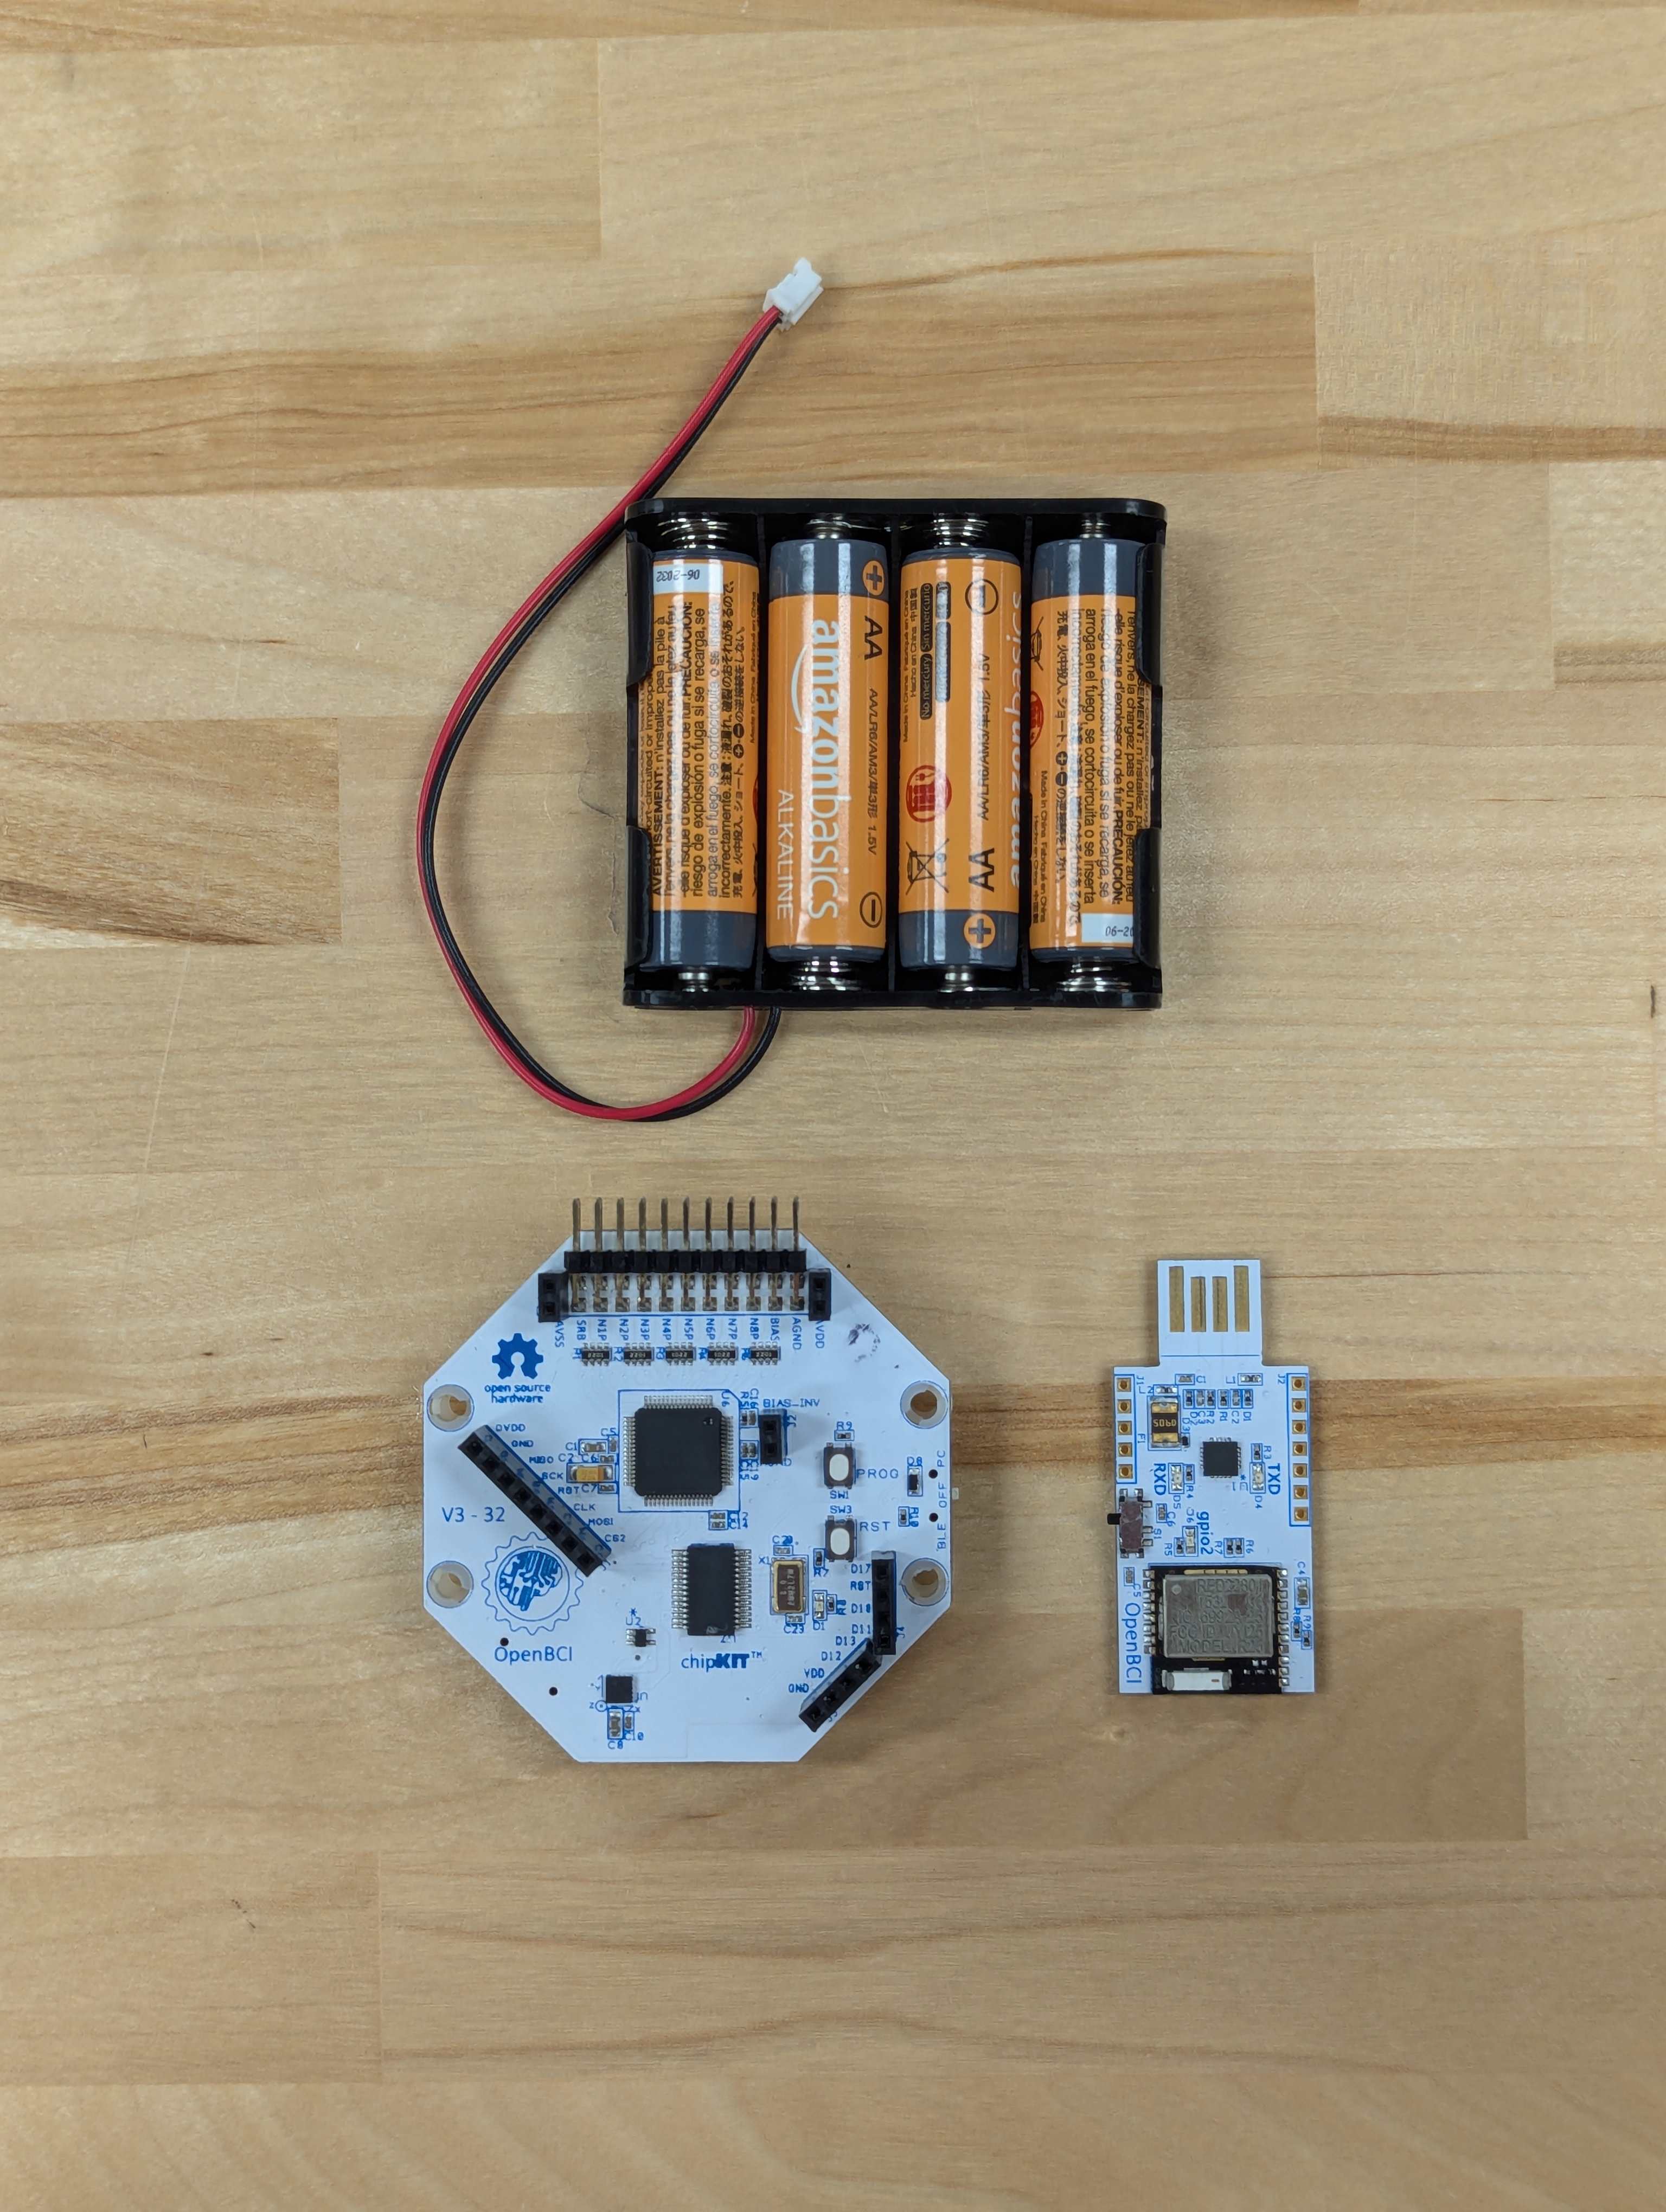
There is a tiny switch on the side of the cyton board: 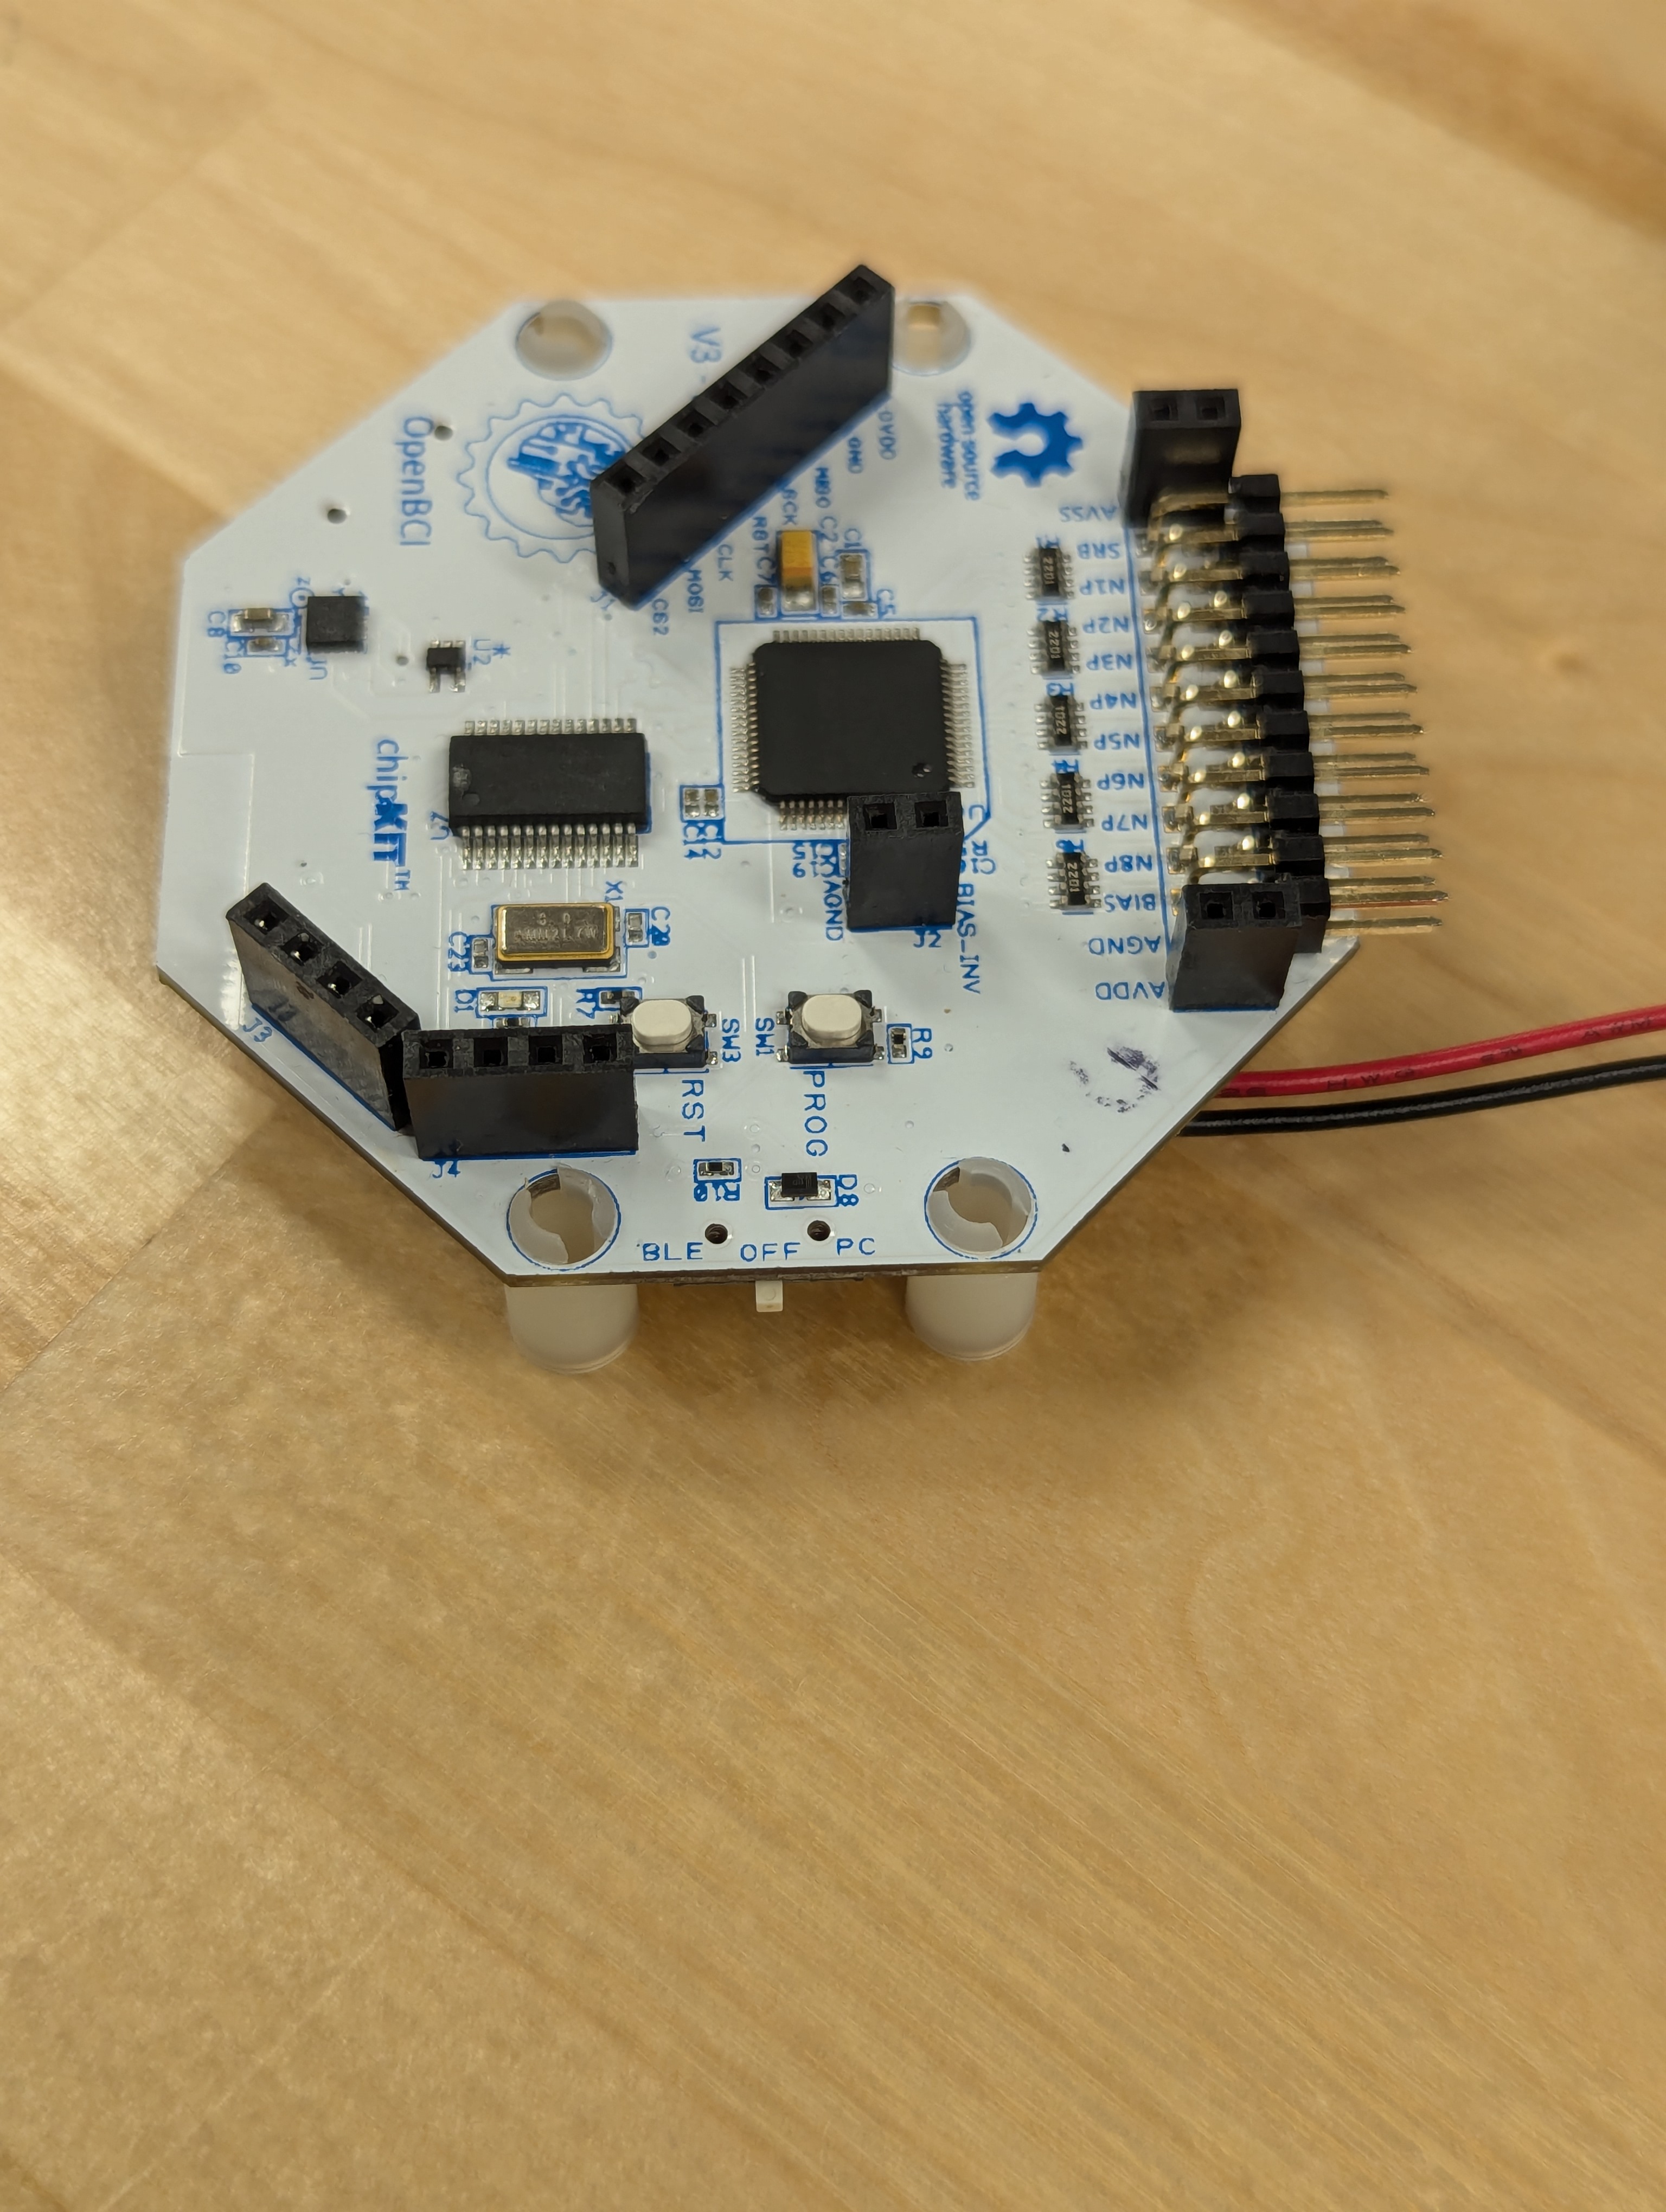 - make sure it is in the ‘off’ position (middle) before pluggin in the battery.
Once the switch is set to ‘off’, you may plug in the battery pack 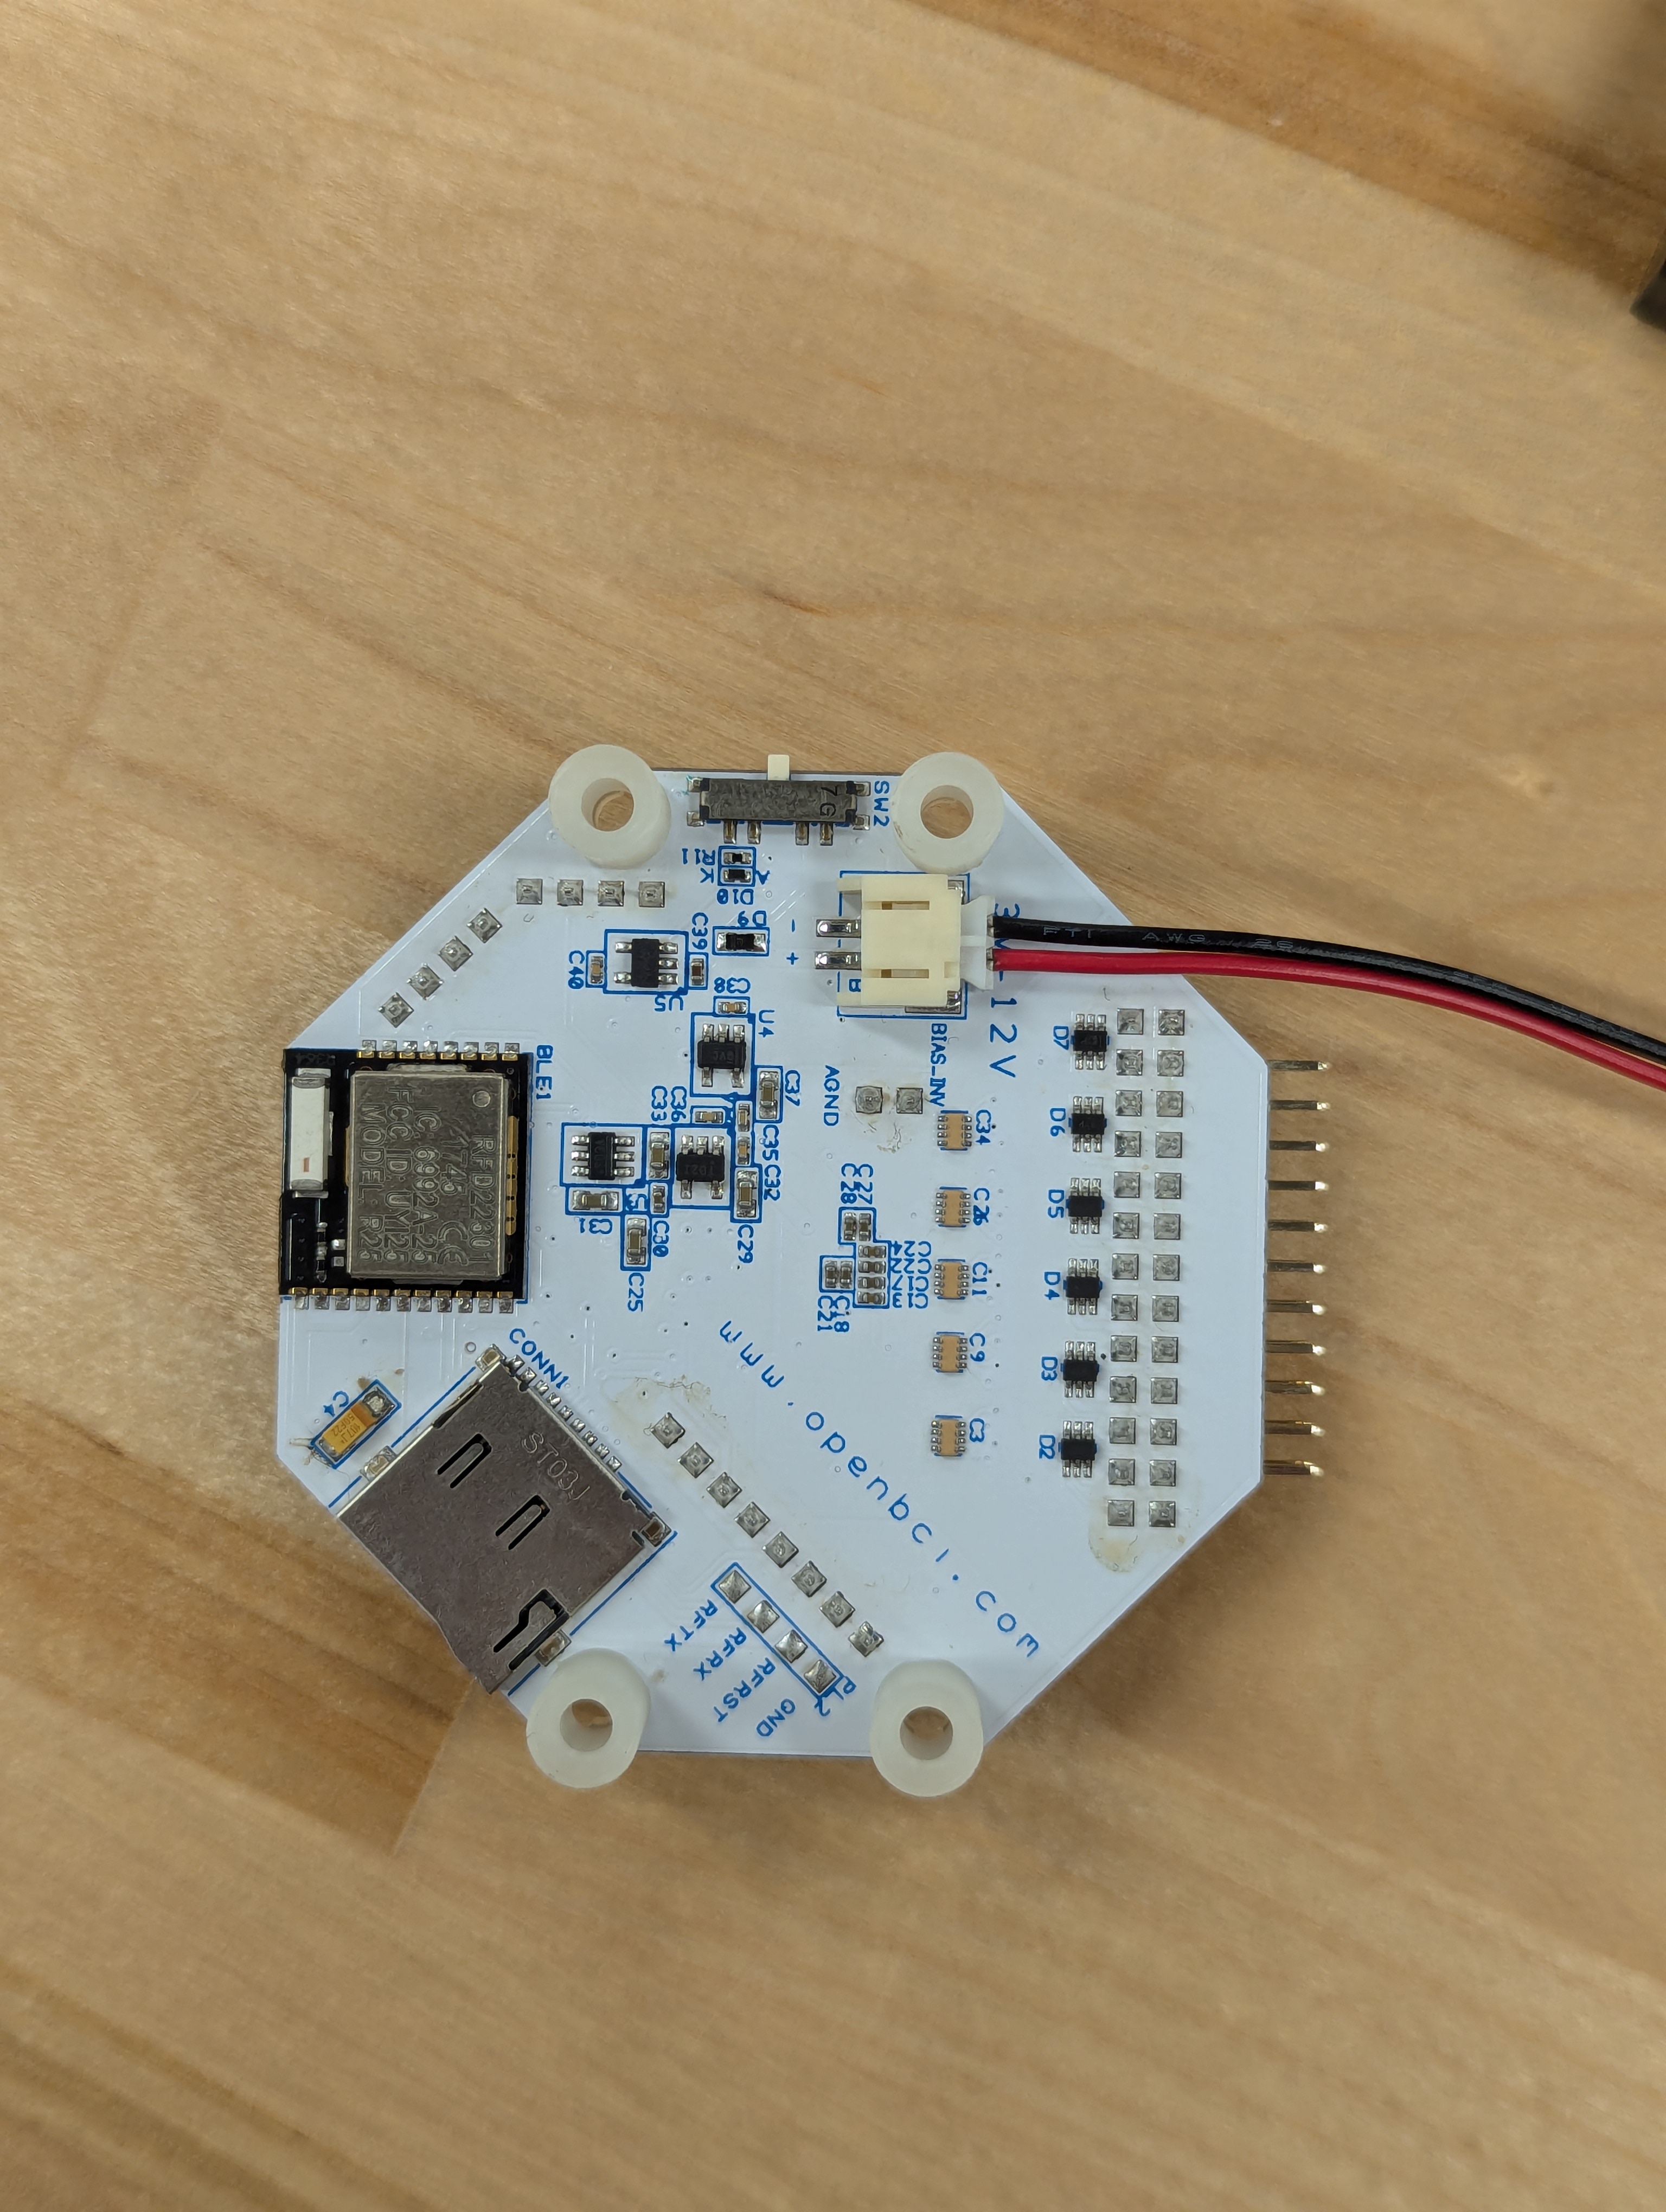 and change the switch position to ‘PC’. If you do not see a blue light on the board once you switch it to ‘PC’, the batteries need to be replaced.
Next, look for the switch on the USB dongle and **make sure the switch is on ‘GPIO 6’ - towards the plug-end before pluggin it into your computer.